Argento FAQ
- How to disable short header and footer layout?
- How to add additional item to the floatbar navigation?
- How to disable category description collapse?
- How to disable category description collapse for specific category?
- How to collapse any another block?
- How to change layout for specific category?
- Magento 1.7 and older
- Prepare logo image for mobile device
- How to create full width block at CMS page
- How to disable Questions tab on product page
- How to remove “0” as the default value for grouped products
- How to use FontAwesome icons?
- Missing elements at homepage
- Remove attributes that have no value
- How to make mobile menu expand on whole item area click
- How to show product SKU on product page
- How to change checkbox/radio button color
- Why disabled extensions are still visible at frontend?
- Disable mobile PhotoSwipe library
- What is ‘keep frame’ and how to use it
- How to set product image size for specific category
How to disable short header and footer layout?
This feature is available since Argento 1.5.2.
- Create
custom.xmllayout file -
Add the following code:
<short_header_footer>
    <reference name="header">
        <action method="setTemplate"><template>page/html/header.phtml</template></action>
    </reference>
    <reference name="footer">
        <action method="setTemplate"><template>page/html/footer.phtml</template></action>
    </reference>
</short_header_footer>
How to add additional item to the floatbar navigation?
- Create
custom.xmllayout file -
Add the following code:
<argento_bottomnavbar_catalog> <reference name="before_body_end"> <block type="core/text" name="catalog_bottomnavbar_additional"> <action method="setText"><text><![CDATA[ <script type="text/javascript"> document.observe('bottomnavbar:init', function() { BottomNavbar.add( Translator.translate('Title'), // title in navbar ribbon '.toolbar-bottom .sort-by' // block selector to show ); BottomNavbar.add( '.block-layered-nav .block-title span', // title selector for navbar ribbon '.block-layered-nav' // block selector to show ); }); </script> ]]></text></action> </block> </reference> </argento_bottomnavbar_catalog>argento_bottomnavbar_catalog- is the handle that argento uses for the following pages:catalog_category_default catalog_category_layered catalogsearch_advanced_result catalogsearch_result_indexYou may add item for specific page only. To do that, change the
argento_bottomnavbar_cataloghandle to another.
How to disable category description collapse?
- Create
custom.xmllayout file -
Add the following code inside:
<remove name="collapsed_category_description"/>
How to disable category description collapse for specific category?
Open category in backend view. Add the following code to the category layout update xml instructions:
<remove name="collapsed_category_description"/>
How to collapse any another block?
Apply the following layout update xml to the page:
<reference name="before_body_end">
    <block type="core/text" name="collapsed_colmain">
        <action method="setText"><text><![CDATA[
<script type="text/javascript">
var collapsed = new CollapsedElement();
collapsed.init('.col-main', {
maxHeight: 250,
height: 100
});
</script>
        ]]></text></action>
    </block>
</reference>
How to change layout for specific category?
- Open
Admin > Catalog > Categoryand select category. - Switch to
Custom designtab. -
Add the following content to
Custom layout update:<reference name="root"> <action method="setTemplate"><template>page/2columns-right.phtml</template></action> </reference>Possible values for template variable:
page/2columns-left.phtml
page/2columns-right.phtml
page/3columns.phtml
page/1column.phtml
Magento 1.7 and older
Copy header.phtml and header_short.phtml files from your theme to _custom
theme. For example:
app/design/frontend/argento/default/template/page/html/header.phtml
app/design/frontend/argento/default/template/page/html/header_short.phtml
copy to:
app/design/frontend/argento/argento_custom/template/page/html/header.phtml
app/design/frontend/argento/argento_custom/template/page/html/header_short.phtml

OR

app/design/frontend/argento/mall/template/page/html/header.phtml
app/design/frontend/argento/mall/template/page/html/header_short.phtml
copy to:
app/design/frontend/argento/mall_custom/template/page/html/header.phtml
app/design/frontend/argento/mall_custom/template/page/html/header_short.phtml
Then open these files and find the following code:
<?php echo $this->getChildHtml('welcome') ?>
Replace it with:
<?php echo $this->getWelcome() ?>
Save the files and clear the cache.
Prepare logo image for mobile device
To make your logo look crisp on devices with high pixel ratio value you should create the double sized logo from the vector logo source.
Move your standard and double sized logos to the custom skin folder:
skin/frontend/argento/{theme}_custom/images/{logo_name}.gif
skin/frontend/argento/{theme}_custom/images/{logo_name}@2x.gif
{theme} - is the theme name that you are using {logo_name} - is the name of your original logo file
For example:
skin/frontend/argento/mall_custom/images/logo.gif
skin/frontend/argento/mall_custom/images/logo@2x.gif
OR
skin/frontend/argento/argento_custom/images/storeLogo.png
skin/frontend/argento/argento_custom/images/storeLogo@2x.png
How to create full width block at CMS page
- Find your CMS page unique classname i. e.
.cms-about(usually it’s located in <body class="CMS-ABOUT"> tag). -
Go to your custom.css file and add following code using your CMS page selector:
.cms-about .main { max-width: 100%; padding: 0; } - It will make your page content expand to full page width.
- In case you want to leave some blocks the fixed width, wrap them with
<div class="container">BLOCK CONTENT HERE</div>
How to disable Questions tab on product page
- Create or edit existing
custom.xmllayout file of your theme. -
Add the following code inside:
<catalog_product_view> <reference name="product.info.tabs"> <action method="unsetChild" module="askit" ifconfig="askit/general/enabled"> <alias>askit_tabbed</alias> </action> </reference> </catalog_product_view> - Flush cache
How to remove “0” as the default value for grouped products
- Create or edit existing
custom.jsfile of your theme. -
Add the following code to file:
document.observe("dom:loaded", function() { $$('.catalog-product-view .grouped-items-table .input-text').each(function(el){ el.value=''; }) }); - Flush cache
How to use FontAwesome icons?
![]()
Argento has integrated FontAwesome scalable vector icons support. So you can insert more then 760 icons just using one tag.
For Example: To add new Instagram icon to homepage content - follow these instructions:
- Go to FontAwesome site and find Instagram icon in search
- Copy
<i class="fa fa-instagram"></i>html code. -
And insert it to
Admin > CMS > Pages > 'home' > Contentin a place you need.NOTE: Your WYSIWYG Magento editor should be disabled while saving FontAwesome tags as it cuts empty
<i>tags on save when turned ON.You should get following look:

Also you can add same CSS properties for FontAwesome tags that could be applied
to other TEXT tags: font-size, color, font-weight etc.
More exclusive FontAwesome options you will find at Examples Page:
- Changing Icons size without CSS
- Creating Fixed Width Icons
- Adding List Icons
- Making Animated Icons
- Rotating & Flipping Icons
- Stacking few icons one over other
Missing elements at homepage
Often users are having issues with missing arrows, icons and other elements at Argento homepage. That is caused by default Magento WYSIWYG editor cutting-out “unknown” tags.
RECOMMENDATION: Please disable default Magento WYSIWYG editor (
System > Configuration > Content Management > Enable WYSIWYG Editor = Disabled by Default)If you don’t want to disable it - just don’t forget to turn it off before pushing Save button while editing content.
If you saved homepage or service_sidebar content with WYSIWYG = ON and have
missing elements - here’s list of original homepages elements for all Argento designs
to restore missing elements:
Remove attributes that have no value
When you need to hide attributes that have “N/A” or “No” values in additional attributes table you can use following solution
-
Go to
app/argento/[mytheme]_custom/template/catalog/product/view/attributes.phtml(or copy this file in your theme fromapp/design/frontend/argento/default/template/catalog/product/view/attributes.phtml) line 37If you have EasyTabs extension enabled please overload this file:
app/design/frontend/base/default/template/tm/easytabs/tab/catalog/product/view/attributes.phtmland put it to
app/design/frontend/argento/[mytheme]_custom/template/tm/easytabs/tab/catalog/product/view/attributes.phtml -
Add following lines:
<?php foreach ($_additional as $_data): // Add these 2 lines $_test_data_value = trim($_data['value']); if ((empty($_test_data_value) || in_array($_test_data_value, array(Mage::helper('catalog')->__('N/A'), Mage::helper('catalog')->__('No'))))) continue;?> -
Check your site now.
How to show hidden part of product name at category listing
In Argento Flat theme product listing the names of products are hidden to make headers same size. But sometimes users want to disable that feature.
-
Go to your custom.css file and add following code using your CMS page selector:
.products-grid .product-name a { overflow: visible; white-space: normal; } -
Save and enjoy
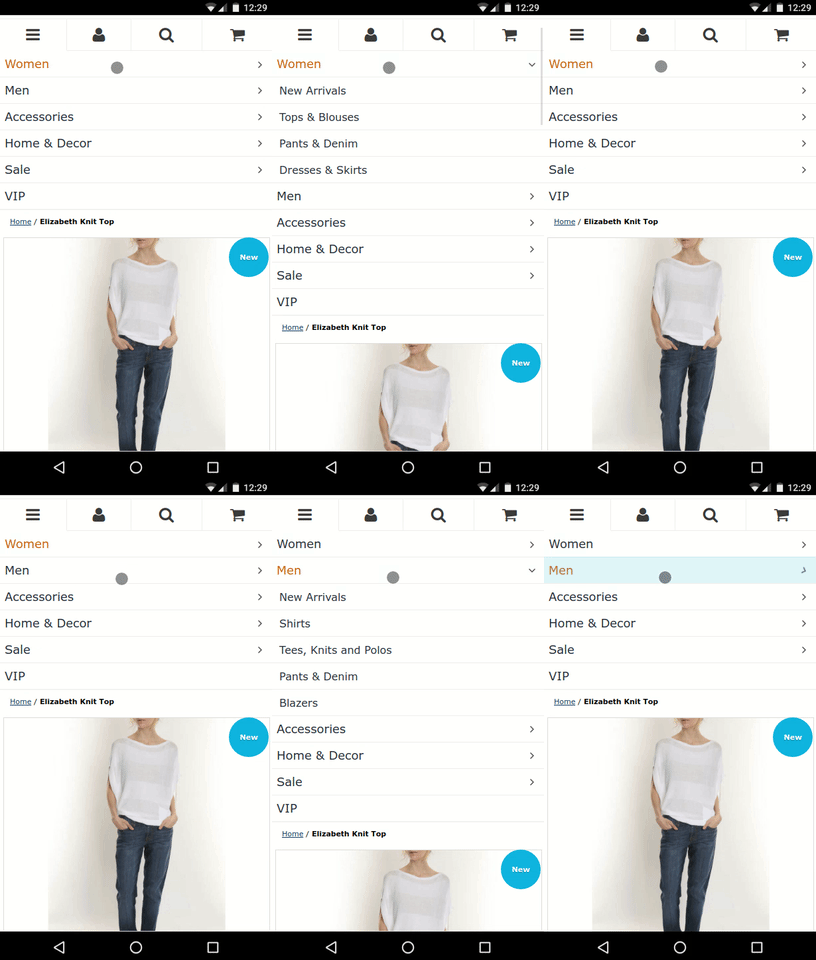
How to make mobile menu expand on whole item area click

- Please, find file
skin/frontend/base/default/tm/navigationpro/js/navpro.js - Override this file in custom theme using our manual
-
Find line 149:
toggler.observe('click', function(e) { -
Change it to:
toggler.previous().observe('click', function(e) { - Save. Enjoy.
How to show product SKU on product page
You should have
SKUattribute created and applied to products
- Overload your
app/design/frontend/argento/default/catalog/product/view.phtmlfile according to Argento customization manual -
Open that file and jump to
line 55<div class="product-name"> ..... </div> -
And insert following code after:
<?php echo $_product->getSku(); ?>or
<?php echo $_product->getData('sku'); ?>
You can use some other attribute name applied to product with
->get[ATTRIBUTE]
How to change checkbox/radio button color
Argento themes have colored checkbox and radio buttons (version of package 1.8.7+). If you want to change their color then you can do this with CSS.
First you have to create/modify custom.css. You can read more about custom CSS and JS at Theme customization article.
Then add code below to you custom.css file:
input[type="checkbox"]:checked,
input[type="radio"]:checked {
    box-shadow: 0 0 0 9px [NEW-HEX-COLOR] inset !important;
}
Where [NEW-HEX-COLOR] you need to replace with hex code of color you want to
have.
Why disabled extensions are still visible at frontend?
That is a common report from our users. When they disable i.e. Frequintly bought together extension at admin, but it’s still visible at product pages.
Answer: Please, check if you disabled that extension on store view level.
Explanation: When user installs Argento and chooses separate storeview (not website) then all settings are applied only to chosen storeview.
Disable mobile PhotoSwipe library
To disable PhotoSwipe library at Argento productpage, please, follow next instructions:
- Create
custom.xmllayout file -
Add the following code:
<catalog_product_view>
    <remove name="product_photoswipe" />
</catalog_product_view>
What is ‘keep frame’ and how to use it
‘Keep frame’ is option for image resizing in Magento. In few words ‘keep frame’ is used to force resized image fit specified width and height.
You can read more at “Keep frame” explanation article.
How to set product image size for specific category
Requires Argento package 1.9.5+
Open category in backend view. Add the following code to the category layout update xml instructions:
<reference name="product_list">
    <!-- set image background color; you can remove it if you do not need -->
    <action method="setImgBgColor">
        <color>#bbdc8d</color>
    </action>
    <!-- set image width; you can remove it if you do not need -->
    <action method="setImgWidth">
        <width>240</width>
    </action>
    <!-- set image height; you can remove it if you do not need -->
    <action method="setImgHeight">
        <height>200</height>
    </action>
    <!-- set keep frame of image; you can remove it if you do not need -->
    <action method="setImgKeepFrame">
        <keep_frame>0</keep_frame>
    </action>
</reference>
